This has come up a few times in the last week with my private coaching clients. When reviewing their latest materials / recordings, I realized that everyone, even though they were getting a few of the major things right with recording, were still also making some pretty big blunders. The biggest issues were with microphones, preamps and files. Let’s dive in and take a look at what are the essentials and the big do’s and don’ts.
Microphones: Condenser, Dynamic, XLR and USB
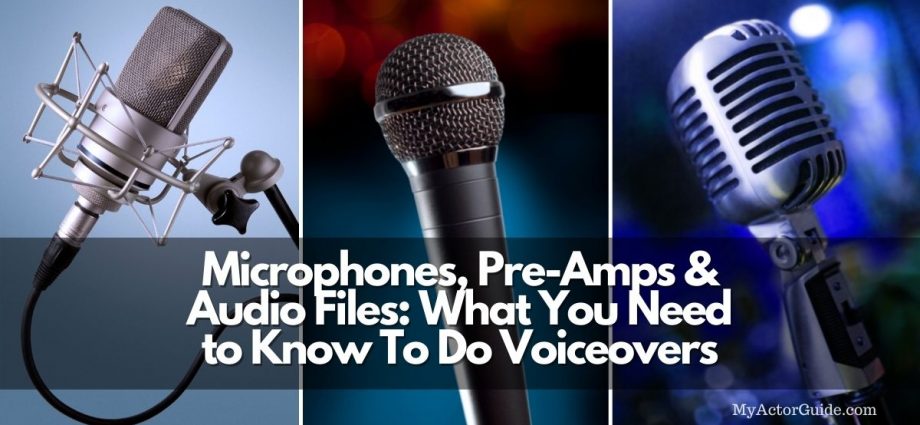
There are two main types of microphones: Condenser Mics and Dynamic Mics.
Condenser mics are professional microphones that are used in broadcasting and music recording where exceptionally high quality sound is needed. The are highly sensitive and with a thinner diaphragm, the part that vibrates in response to sound waves, i.e. your voice hitting it. These mics are capable of picking up extremely low volumes and high frequencies while maintaining the quality of sound and the details. This is the type of mic you are going to want to use for the majority of your voice recordings because it will capture every nuance of your amazing performance!
Dynamic mics, on the other hand, are far less sensitive – the diaphragm is not quite as delicate as that on a condenser mic. It is the type you most often see for live performances (remember those things pre-Covid?!) For music, stand-up comedy or other spoken work, dynamic microphones are a favorite in these situations for their more ‘robust’ sound.
Dynamic mics are not as detailed or precise in registering faint noises and quieter frequencies. While this may seem like a substantial downgrade, that’s not necessarily the case. There are benefits at times to using a less sensitive microphone, and live situations is definitely one of them. Think of in a crowded bar or other venue what it would sound like if we heard every little noise, whisper and movement within a 10 foot radius of the mic? The audio would be crazy messy to listen to! For this reason, dynamic mics can be great for certain types of recordings done in your home studio if it’s sound treated vs being soundproof.
Where To Use What
Large professional recording studios and home iso booths have top-of-the-line acoustic treatment, your spare bedroom may not. Professional studios are designed for the use of highly sensitive microphones and aim to record only the sounds intended for these mics to pick up. But at home, condenser mics may pick up extra background noise like the neighbor’s dog barking, your refrigerator running, traffic noise and more.
Dynamic mics certainly aren’t suitable for all voice recordings, and not “broadcast quality” but they can be useful for phone recording and web videos where the delivery method is already highly compromised.
A condenser mic is generally preferred, but ultimately, this is something you’ll have to determine on a client by client and project by project basis, also considering your own recording set-up.
XLR vs USB Microphones
When I first got started in voice over, there were no USB microphones around, so whether or not to get one wasn’t a consideration. Connecting an XLR mic to a computer was a real pain, but it had to be done. Today however the choices are almost limitless, so where do you begin?
Let’s start with the differences:
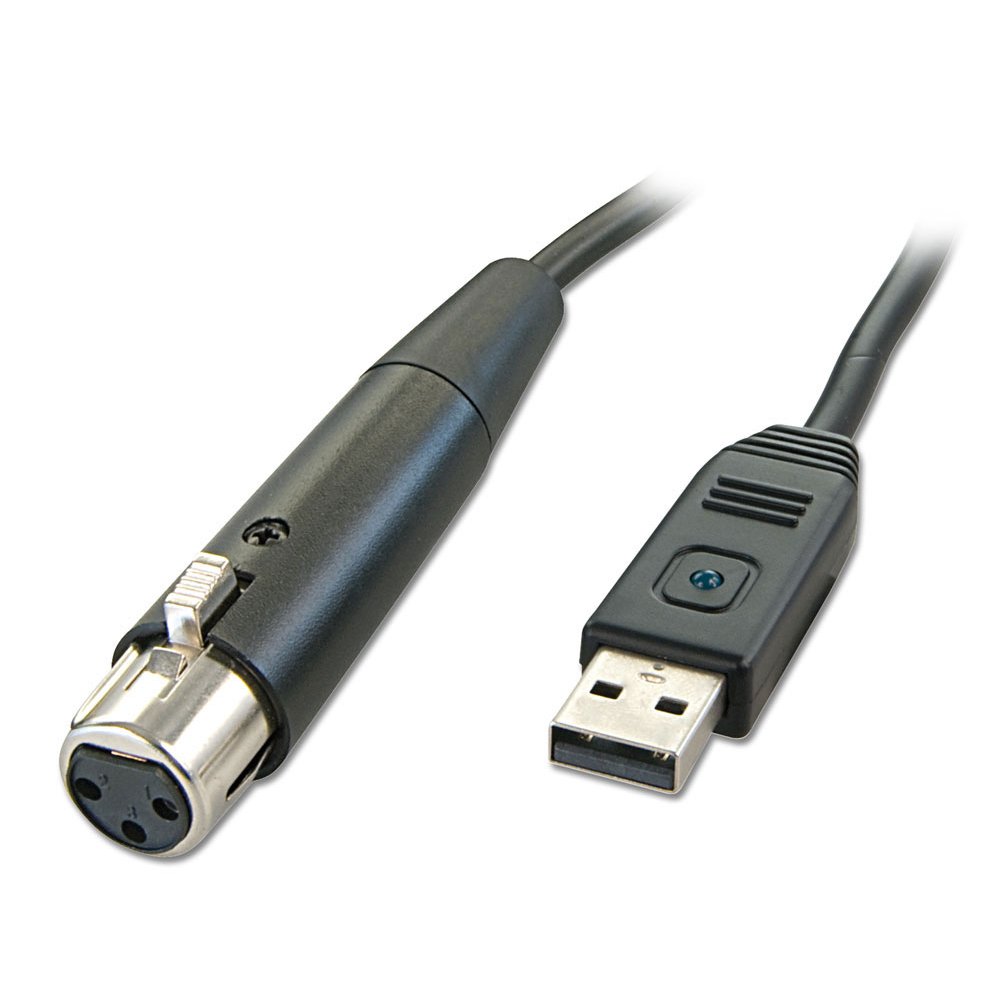
XLR Microphones use a large, three-pronged cable, so they require an extra piece of equipment or Audio Interface to connect to your computer.
USB microphones on the other hand are designed to connect directly, negating the need for additional hardware. So why not just grab a USB mic?
XLR Cables are designed to suppress noise, providing a cleaner signal overall than USB cables. The technical reasons for this are outside of scope of this article, but the bottom line is that USB cables are more susceptible to interference, and are always going to be noisier than an XLR cable. XLR mics are really a necessity for high-quality audio production.
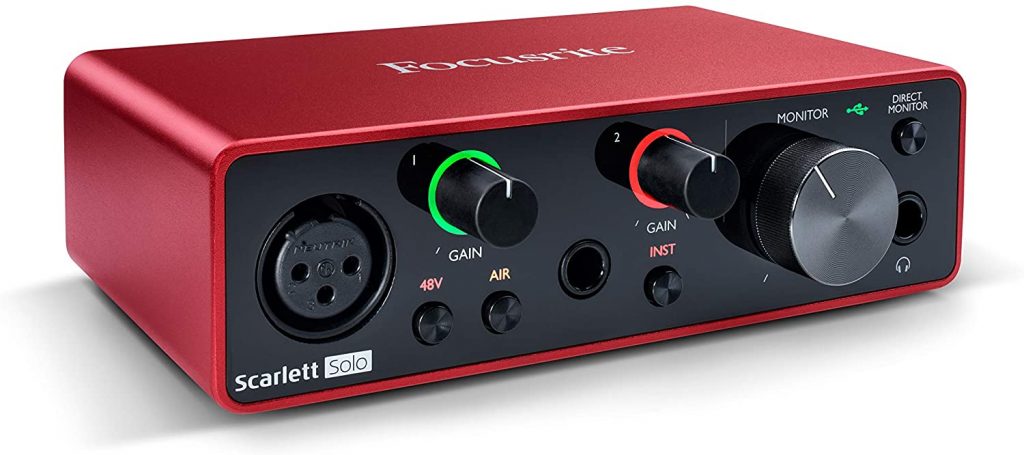
Audio Interface
Although I’ve just touched on audio interfaces, you may be still wondering why you need one and why you can’t just get some sort of cool little adapter to plug that XLR mic into your computer.
The audio interface, also known as a Pre-amp, provides two key functions. The first is that in addition to connecting with that huge three prong plug, it provides Phantom power to your fancy XLR microphone, which requires electric power to drive the active circuitry. XLR mics all have active circuitry and require an external power source.
The second function is the actual pre-amp, that amplifies the the electrical signal from the microphone before it’s converted into a digital signal. This ensures that less digital noise or interference is converted into a digital signal and actually recorded.
Audio interfaces with built in pre-amps are a mustif you are planning on doing any serious voice-over work.
Pop Filter
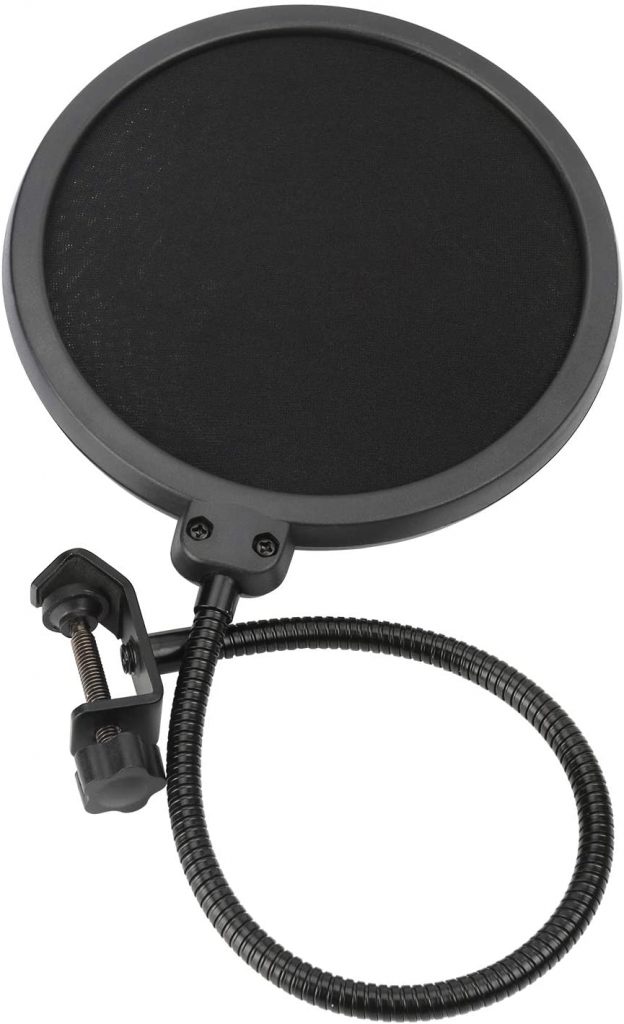
Where does that pop noise come from in a recording? We don’t hear them when talking in real life, so what gives? Pop sounds in recordings are caused by a sharp blast of air hitting the diaphragm of the microphone.
This is usually the result of a “plosive” sound that can occur when saying the letters B or P. As we already know, condenser mics are incredibly sensitive so this can be a problem. To lessen the effect, a pop filter, sometimes called a pop shield, is often utilized.
A pop filter is pretty simple. It’s essentially a circular screen or mesh disc that sits in front of the microphone. The high-end sound frequencies travel through the mesh which removes any of the plosives, with a very small amount of quality sacrificed in the process.
As more voiceover artists opt for shotgun mics or ones suspended at roughly forehead level, pop screens aren’t always used. With the mics not being in direct line with the mouth, they are therefore not susceptible to blasts of enthusiastic breaths.
File Formats
There are many different audio file formats in use today across different platforms and applications, but for VoiceOver purposes it really comes down to two: WAV and MP3.
The thing that separates these two file formats is quality, which is categorized as Lossless or Lossy. This all comes down to data compression and file size. WAV files are fairly large and keep all of the audio data in tact; they don’t “lose” anything in the storage format. This is known as Lossless. But if you’re going for a smaller file size your best bet is to save the file as an MP3. This compresses the audio. In order to do that you lose some of the data, resulting in a Lossy file.
To put it another way, any type of lossy file format, such as MP3, deletes micro, seemingly insignificant elements of the audio data in order to generate smaller files.
Lossless files on the other hand do not delete these small elements of data; the audio remains fully intact, with very little or no data being lost. 24 bit 44.1kHz WAV files are a good example of lossless files, however 16 bit is sufficient for most voiceover projects.
For the average web video or phone system recording this isn’t really an issue. MP3 files are often preferred for their size, and audibly, the difference is going to be imperceptible. As I mentioned earlier, it’s already being delivered over a quality compromised platform and through less than optimal phone or computer speakers. Bottom line: most people won’t be able to hear a difference.
This changes though if you are recording a professional voiceover for video games or commercials or any professional broadcast medium; the audio quality is very important.
* Pro Tip: Once you have saved an audio file in a lossy format such as MP3, it’s not advisable to go back and save it as a WAV – the data is already gone! For this reason, I always recommend recording and saving projects ad WAV files, no matter how you deliver them to the client. If you save it as an MP3 and the client then decides they want WAV files, you’re going to have to go back and re-record the whole thing!
Frequency: 16 bit vs 24 bit
Okay, I just talked about file format, but there are a couple of more technical things you need to know for recording and saving your files: Frequency and Bit Rate. Let’s start with frequency.
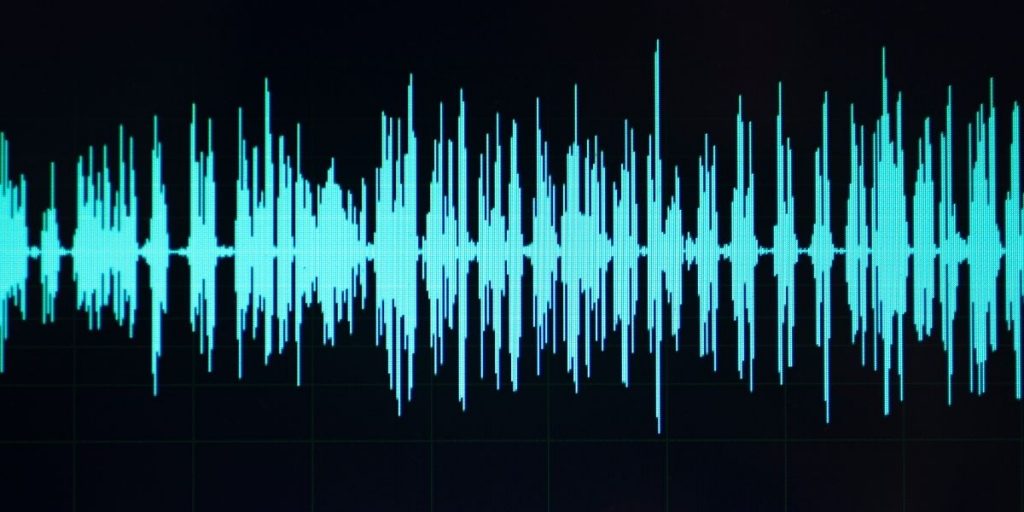
Sound moves in waves; these waves are structured as waveforms which move through the air to reach our ears and produce heard sounds. The number of ‘waves’ within a set time frame, in the form of the peaks and valleys (seen below), is referred to as frequency. This is measured in Hertz (Hz). One Hertz (Hz) equals one vibration per second. The human voice averages a frequency band of 1000 Hertz, or 1 kilohertz (kHz).This is known as the Sample Rate. Basically, a higher sample rate means higher quality; it produces a cleaner sound. For voiceover purposes you’re generally going to want to record and save your files at 44.1 kHz for the average voiceover project, and 48 kHz when broadcast quality is required.
Higher sample rates of 88.2 kHz and 96 kHz are often used in professional music production but are just unnecessary for voiceover alone. Keep in mind, when sample rates double, so do the file sizes on your hard drive!
It also requires more processing power from your computer.
Bitrate
A bit, as you probably know, is a basic unit of information in terms of digital communications and computing. Bitrate is the number of bits transferred over a period of time. For the purposes of voiceover, a higher bitrate generally means a superior audio quality, which then means a better sound for the listener. Many professional recording studios will record in 24-Bit or even 32-Bit, but again, for your standard voiceover recording 16-Bit is still commonly used and quite sufficient.
* Pro Tip: Before recording any project be sure to get very clear with your client about what file format they require and technical specifications such as bitrate and frequency.
Distance from Microphone
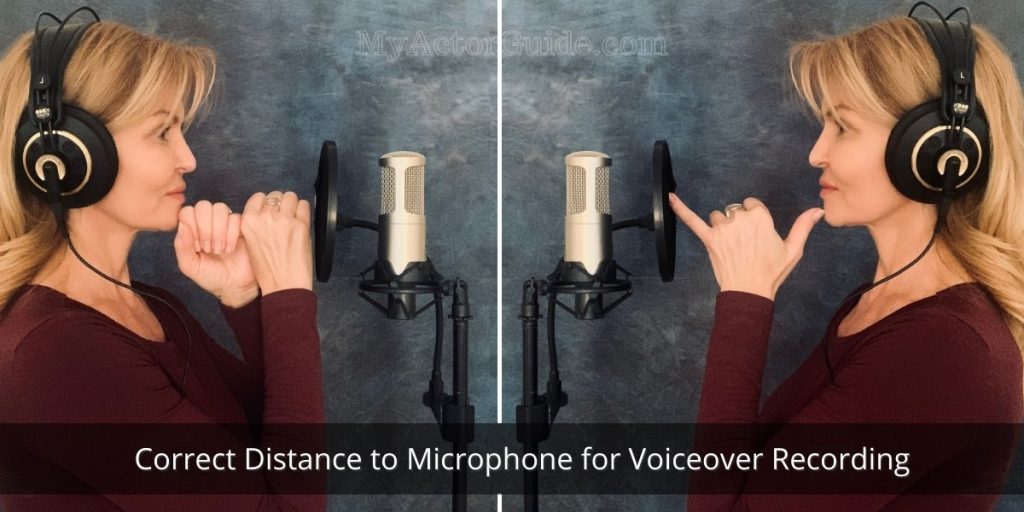
As we have already discussed, microphones are incredibly sensitive…. And not the weeping, crying, you-hurt-my-feelings sort of sensitive, but the ‘wow, I can hear that fruit fly move on the other side of the room!’ kind of sensitive. Okay, that might be a slight exaggeration, but they still pick up a lot more than you might expect. For this reason you need to have a consistent distance between your face and the microphone.
If you move closer or further back it will dramatically change the quality of the sound. This becomes an issue with larger recording projects when you can’t record everything in one session, or when you have to go back and do pick-ups or corrections. If you haven’t measured the distance to the microphone, you won’t be able to match it and the new recording won’t sound the same as what you have already done. The easiest way to do this and the general rule of thumb is the “hang ten” hand or two fists. It’s quick. It’s easy. It’s body specific for each of us, and it works!
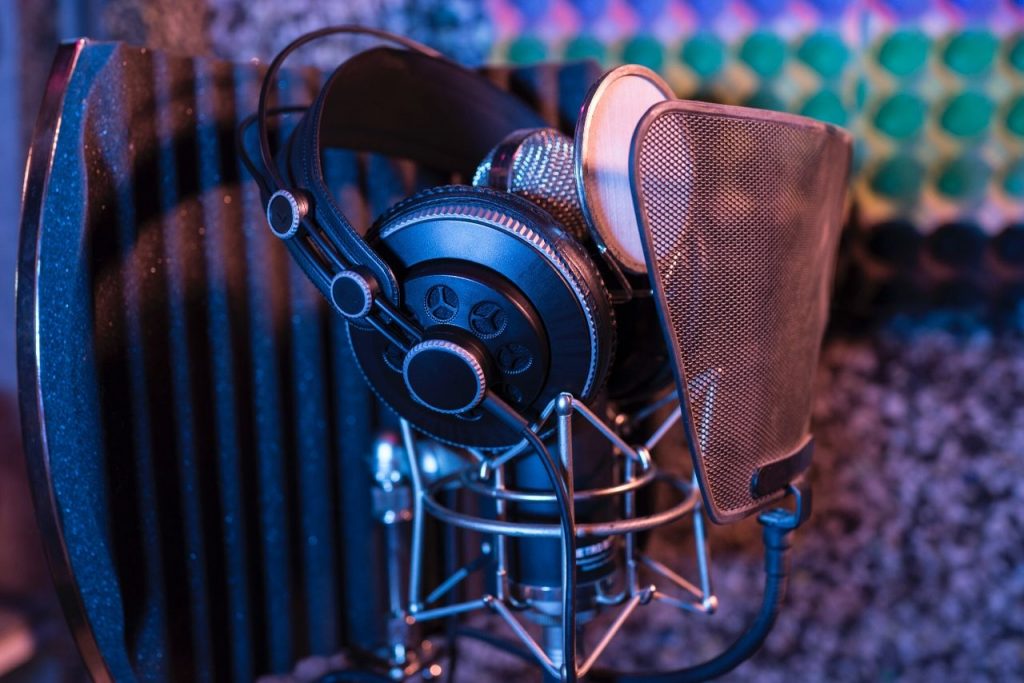
Mic Stands, Swing Arms and Shock Mounts
Last but not least, even if you are using a dynamic microphone, DO NOT HOLD YOUR MIC. This is not a live performance where you are engaging with the audience and you will never be able to hold your mic steady enough. As we’ve just talked about with the distance to microphone, the sound quality will vary dramatically.
The mic stand, whether you use a floor stand, desk stand or swing arm should always have a shock mount for condenser mics. A microphone shock mount helps to prevent any vibration from the floor or whatever the stand is attached to. Professional microphones are so sensitive that just that tiny vibration will register and create a low-frequency rumble in the recording.
I know there is a lot here to take in, but once you learn it, like anything else it’s pretty simple. The tricky part is, without a mentor or coach, this kind of stuff can be difficult to learn on your own.
I hope this really helps you refine your home voiceover recording set-up and even answers a few questions you didn’t know you had. Voiceovers can be a lot of fun and a great way to make money from home, but there is a bit of a learning curve and it’s a highly specialized skill, so it does require some expertise.
Remember, everything is “figure-out-able” and I’m always here if you need advice or help!
For more on setting up your home studio including software, read…
Need home recording gear? See my recommendations from Amazon.com
Like this article or love it? Pin it. Post. Tweet it. Share it with your friends! It’s a tough business and we could all use a little help!