The VoiceOver industry has really taken off in the last 10 years. Partially due to demand and the high volume of internet projects, but also because of the ease of setting up a home recording studio and to be able to deliver high-quality audio quickly and cost effectively.
If you’re thinking about setting up a home recording space, this will walk you through the equipment needed and how to get started.
Home Studio Recording Equipment
Getting started with recording equipment these days is pretty simple, and much more affordable than it was even a few years ago, but there is still a bit of an investment! And while I definitely wouldn’t suggest you go out and splurge on top of the line equipment right off the bat, winning the higher-paying jobs depends on the quality of the product you can deliver. And that depends in part on the equipment.
Here’s what you need to get started.
A Computer…. or other device to host recording software
You’re most likely going to want to record on a computer. While I have seen some people use iPads, and they are perfectly fine if set up properly, they seem to be better suited to short-form content such as commercials. If you’re doing long-form content such as audiobooks you probably want a more robust device. Whatever you’re using, it’s got to be solid-state – i.e. No fans! The noise will absolutely kill your recording. It also has to have the appropriate input and be able to handle your recording software, your mike processor or preamp, and of course, supply power to the microphone itself.
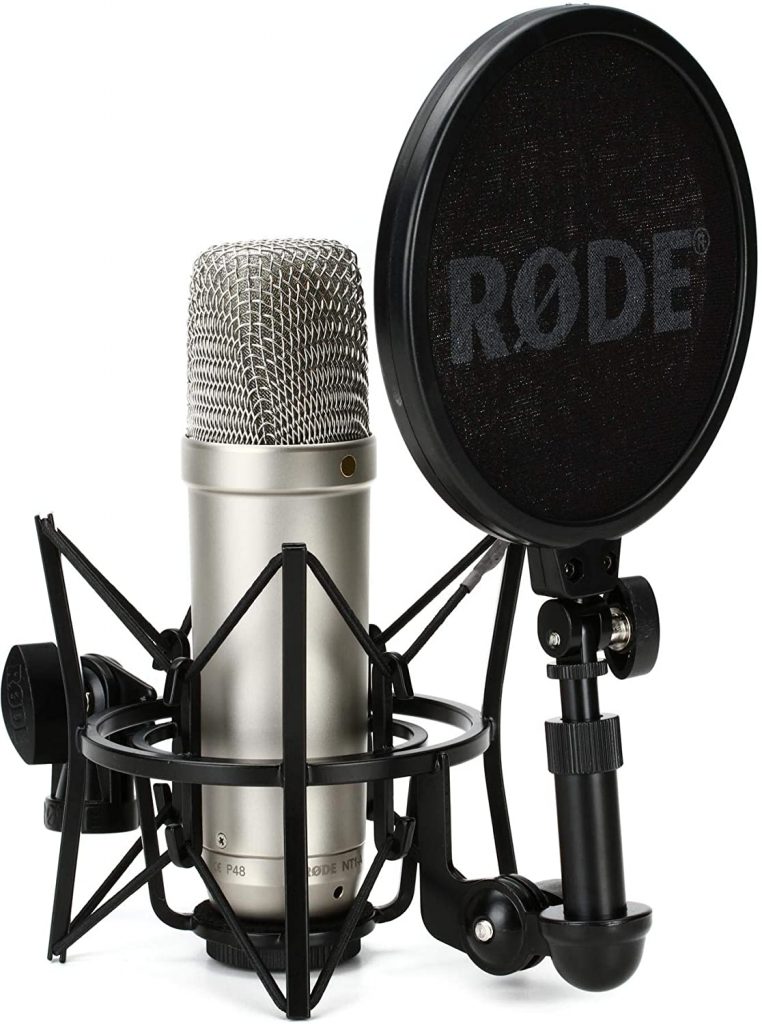
The Rode NT1-A Cardioid Condenser Microphone Package is my favorite for stating out. The mic gives great quality sound and comes with almost everything you need in one package: Microphone, Shock Mount, Pop Filter and even an XLR Cable for under $250. Just add a mic stand and XLR to USB processor and you’re ready to go! Click here to view more or buy on Amazon.
XLR Condenser Microphone
Right off the bat, I’m going to say it, stay away from USB mics! They’re total fine for doing a podcast, but simply don’t cut it in terms of quality for VoiceOver work. If you want to get and keep decent clients, you’re going to need a decent microphone. While a mic in and of itself can’t make you sound great, a beautiful voice and a stellar performance can be ruined by a cheap mic that generates too much noise or records poor quality audio.
Microphones are really personal; you need to find one that is right for YOUR voice, the type of work you’re doing at the moment, and your particular setup. I personally have two main mics that I use but I moved and the acoustics are different in this location, so I’m going to need to get a new mic. It’s not uncommon for voice over artists to have several microphones; one for audiobooks, one for commercials and one for animation. To get started I would always recommend picking a condenser mic that’s good quality but kind of middle of the road. (about $250 – $400) Don’t go full out with a high end mic until you know your voice, know your setup and know what you’re doing.
I’ve linked to a few of my favs, but ultimately read reviews and do some research paying particular attention to the high-end and bottom end sound quality based on your particular vocal range.
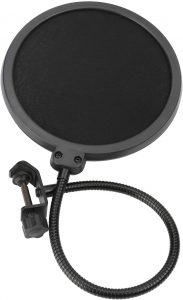
This is a good basic pop filter that you can get for $10-$12. Will definitely do the trick.
Click here to view more or buy on Amazon.
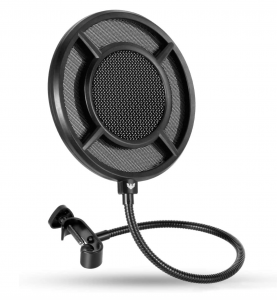
Love this pop filter and it’s definately my pick! About $20. Doesn’t mount well if you are using the Rode kit above.
Click here to view more or buy on Amazon.
Pop Screen
Recently, there’s more debate about whether or not to use a pop screen, or a pop filter. You’ve probably seen them, a pop screen is usually a circular mesh filter about the size of your hand that you position between you and the mic. Not only does it protect the mic from the possible accumulation of a little spit here and there (it can and does happen!), but it also reduces any popping noises, or plosives, from fast moving air after we say certain sounds like p’s and b’s. If you’re using an overhead mic, or one on an arm that is roughly at eye level, and yes mics are sensitive enough to quite clearly pick up your voice from there, then the pop screen really isn’t needed. Again do you research and use your own judgment.
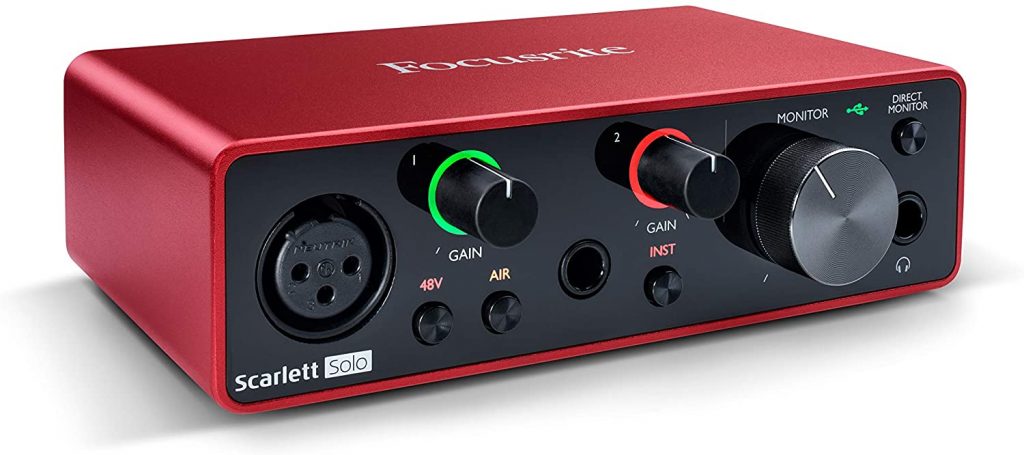
The Scarlett Solo ism personal fav + the industry standard for starting voiceover. (and don’t be fooled by a lower price with the same color!) It’s easy to use, quality is great and only about $120.
Click here to view more or buy on Amazon.
Mic Processor / Pre Amp / Audio Interface
What is a mic processor?
I’m not an audio engineer, so my knowledge of mic pre amps is limited. What I do know is that three-pin XLR microphones are superior to USB mics, are by far the most common type of microphone used for voice over work, and are the industry standard for balanced audio signals. But obviously, you can’t plug these directly into your computer. So, if for no other reason, know that you need an audio interface for this.
What does a mic preamp / microphone processor do?
Professional condenser microphones need power to operate. In addition to giving you the ability to plug a three-prong XLR connector into your computer, the audio interface supplies “phantom power” to your microphone. Phantom power is a way to provide power to microphones that need electricity to operate, but don’t have their own dedicated AC power supply.
Microphone Pre Amps and Processors
Technically speaking, a mic processor adds additional power to the preamp. Typical stages include a compressor, limiter, de-esser, a gate or expander and equalization. And don’t ask me – I’m the talent, not the tech! But I do know that each stage is used for a particular benefit and has their own operational guidelines.
Where to Start?
When selecting your audio interface, keep in mind that these were all developed for the music industry, not for voice over. A lot of them come with a ton of bells and whistles and settings that you will never really need to deliver “clean dry audio” – basically, don’t mess with it. If you do too much to the audio input, it means your client can’t. To start out, keep it clean and keep it simple. If you are going to set up a full broadcast quality home studio, then definitely hire an audio engineer to come out and help you with equipment and acoustics.
My personal fave for your first home recording setup is the Focusrite Scarlett Solo USB Audio Interface

These are amazing studio headphones and at a great price! They are comfortable and “semi-open” so they let a little bit of sound in vs noise cancelling. Semi-open is important for voice over so you can hears your own voice not just through the microphone but also through the room…. as you would when you are normally speaking. About $80 and I’ve had mine for 10 years!
Click here to view more or buy on Amazon.
Headphones
So why do you need headphones? Again, there is a lot of debate in the industry right now on whether or not to use them. I came into the business at a time when everything was done analog and in a studio, and you needed headphones (still do) to hear your director and audio engineer. Personally, I feel that you can only deliver really good quality audio if you can hear what you’re recording.
Professional condenser mics are ridiculously sensitive and can pick up the sound of a pin dropping, literally, so it’s useful when recording from home to be able to hear exactly what the microphone is picking up. Again, this is something that would normally be handled by your recording engineer, but when recording from home, you’re it! Things that the mic will get but you may not notice: birds chirping, a neighbor’s dog barking or car alarm a block away (yes, really), your refrigerator vibration – even when its in a different part of the house, that faint sound of a jet or helicopter, or a family member in another room.
Having said that, you never want to use noise-canceling headphones because they cut out the sound of your own voice. We all need to hear the sound of our own voice coming back through our ears to be able to speak effectively. The trick is finding headphones that are comfortable, clear, and allow you to hear yourself without significant noise bleed that is going to be caught by the mic. As always, find equipment that is right for you. My own personal favorites for headphones, and I LOVE my headphones, are the AKG 240. They’re not outrageously expensive, but for me the are the perfect fit for all of the reasons I mentioned above.
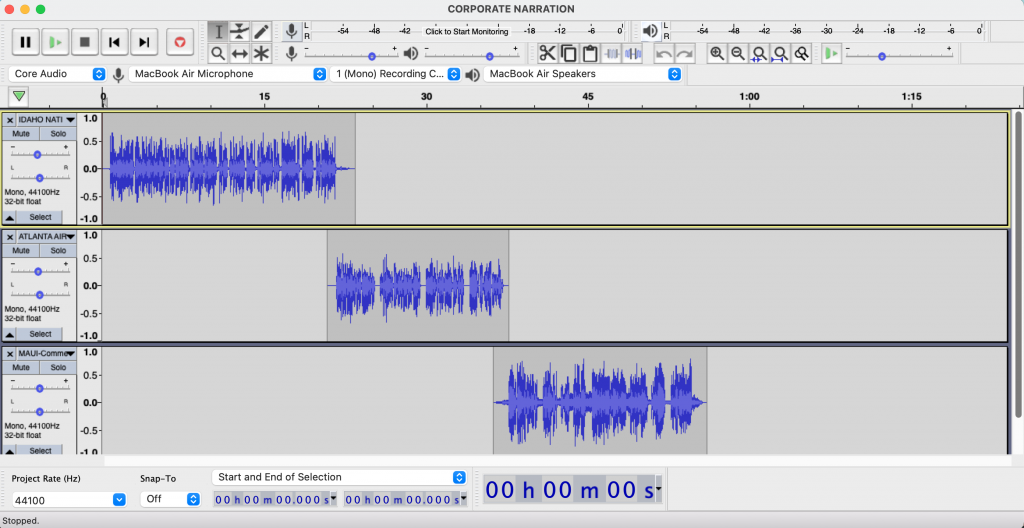
Audacity and TwistedWave are my go-tos. Easy to use and affordable for straight voice recording
Recording & Audio Editing Software
Just as with all of your other equipment you’re going to need decent recording software. To start, you’ll need a program that can record clean audio with as little compression as possible, as well as do any editing that’s required. This can be something as simple as cutting out breaths, trimming the length of a file, noise reduction, splicing in other recordings, or even adding a sound bed.
To get started I would highly recommend you download and play around with a program called Audacity. Why? Audacity is available for both Mac and PC and it’s absolutely FREE! Yes really. The thing I don’t love about Audacity is that it’s not especially user friendly, you can’t just save a file straight up, everything is saved in Audacity format and then you have to export the file into the format you want. But again, did I mention it’s free? It’s a really great place just to learn the basics of recording software without spending any money.
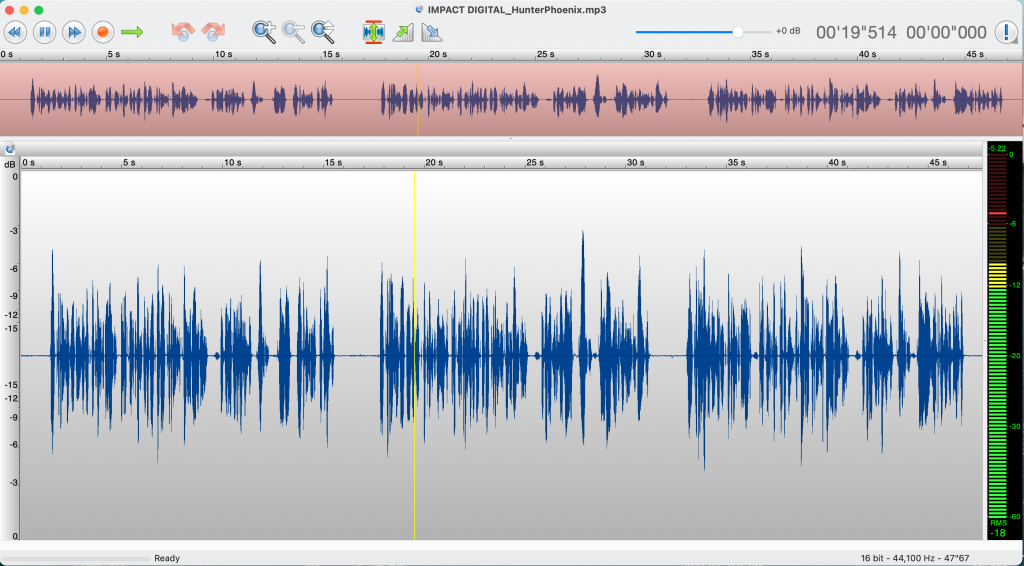
My personal favorite for recording software and the industry standard these days for voiceover artists is TwistedWave. It is highly intuitive, easy to use, robust recording software. And it’s only about $79 at the time of this article. Sweet deal! Downside – it’s available for Mac only.
Adobe Audition is another excellent choice and beautiful for multi-channel mixing, but it’s expensive and way more than the average voiceover artist needs. Then of course there’s ProTools, high end recording and audio mixing software. The thing with ProTools is it was developed for the music industry and has a whole lot of stuff that for voice only you just won’t use. It is also ridiculously complicated and ridiculously expensive! (Really, don’t) If you’re not recording on a Mac and looking for software that’s a step up from Audacity, you’re going to have to do a little bit of research. And if you find something you love, please let me know 🙂

There are soooo many options for sound absorbing foam. Pro Tips: 1. This is “sound treating” NOT “sound proofing”….meaning it stops sound from bounding off of the walls but won’t keep out the sound of your neighbor’s dog barking… or even your refrigerator running! 2. Nothing less than 2” thick and high-density is better.
Click here to view more or buy on Amazon.
Sound Treated Recording Space
Don’t have a room or closet you can dedicate only for recording? Or have the space to set a vocal booth up in your house? No worries, join the club! Acoustics are hugely important when recording. As I mentioned before professional microphones pick up everything. But with a little bit of ingenuity and yes a little money, you can typically sound-treat a space fairly inexpensively. Walk-in closets are ideal for recording because the sound dampening is already done for you; your clothes act as both insulation from outside noise, and also prevent sound bounce from hard surfaces such as the walls.
Ideally, you want a small space away from windows and preferably with interior walls as much as possible. Again closets are ideal for this, but if there is a “cubby” somewhere in the house, tuck your recording space in there. If not, go for a corner of a room and buy some sound-absorbing foam, sound blankets or even the sound reducing drapes to help with noise. Remember to also have a rug or carpet on the floor where you’re recording, and ideally something overhead as well. And if you have your microphone set up on a desk, be sure to put a towel or placemat on the desk as sound will bounce off of any hard surface.
If you’re recording audio books, something that often requires hours of recording at a stretch, you’re most likely going to be sitting down, and may consider investing in a small desktop sound booth specifically for this purpose.
I pulled together some of my favorite sound treatment products and you can find them all here.
Tablet or E-Reader
While this isn’t always necessary, when doing long-form recordings such as narrations or audiobooks, you definitely want an electronic device to read from. The last thing you want is to introduce unnecessary noise, like turning pages or shuffling paper, into the mix. Having your text or script on a device such as a tablet or e-reader has a lot of advantages including being able to mark up the script easily, bookmark key sections, and silently touch a screen to advance to the next section of text. Added bonus: if you need glasses to read, having the material on this kind of device also lets you adjust the text size to something that works for you, and it’s backlit for recording in low light or poorly lit spaces.
The main thing to keep in mind when buying audio recording equipment, is not to overspend in the beginning. Yes, absolutely, buy good equipment and professional equipment but don’t go full on high end. Start by booking some work and getting paid and then you can upgrade your equipment as needed. Look for steady work so you can afford to buy equipment, don’t buy high end equipment before you book the work. Ultimately, the equipment is necessary but it can’t do the job for you of making you sound great – that is up to you!
** This post was originally written in August 2020 but is updated regularly
Are you looking to get into voiceovers? What are you doing to set up your home studio or home recording space?
Head to the comments and tell me more, then pin and share this post if it helped you!

Thank you
You’re welcome!